The Control Panel in DMXControl enhances the Device Control with commonly used functions for devices. This includes, among other things, dimmers, colors (Color), and position.
Overview
The Control Panel in DMXControl 3 provides direct access to the most frequently used functions of the devices utilized in the project. These windows are available for direct access when preparing new Cuelists.
Key Features
These control panels have a fixed structure and cannot be modified. Only the content is adapted according to the current selection in the Stage View, primarily for the available fixed colors of a color wheel or the gobos.
| In DMXControl 3, the property panels of a spotlight with multiple beams can only control the first one. The others are controlled via the Device Control. |
Usage
In the standard layout of the DMXControl 3 GUI, the control panels for Intensity, Position, Color, and Gobo are included. Other control panels can be accessed via the « Window » menu entry.
Intensity
|
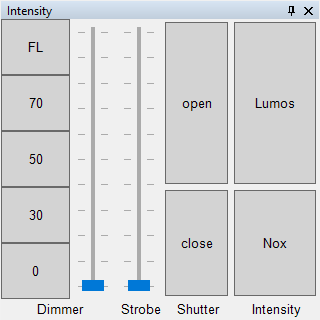
| Figure 2: Representation of the Intensity Panel. |
The Intensity panel has three functions. First, it allows you to set the brightness of a spotlight. This can be done continuously via the dimmer fader or by using buttons with predefined brightness values ([0%], [30%], [50%], [70%], and [FL] = 100%). The dimmer function is located on the left side of the panel and is available for any spotlight that has a dimmer channel or dimmable color channels. For devices that only have a shutter and a color wheel, all controls related to the dimmer are grayed out.
Next to the dimmer controls is the strobe function in the form of a fader. This fader adjusts the speed of the strobe effect, i.e., the flash rate. The adjustable flash rate range depends on the minimum and maximum flash rates defined in the device's settings. The strobe function is only activated if a device has a strobe channel or a strobe range on a shutter or dimmer channel.
Next to that are two buttons ([open] and [close]) for the shutter function. These buttons can open or close the shutter of a device, provided the DMX device has a shutter and, accordingly, a shutter channel.
Far right in the Intensity panel are two more buttons ([Lumos] and [Nox]). These combine the dimmer and shutter properties of a device. DMXControl detects which of the two properties the DMX spotlight has and controls it so that the spotlight lights up when you click [Lumos] and turns off when you click [Nox]. With these two buttons, we also interact with the Hardware Abstraction Layer[1] (referred to as HAL hereafter) of DMXControl. What the HAL is and how DMXControl 3 works with it is described briefly below and elaborated on further in the Hardware Abstraction Layer (HAL).
Color
|
|
|
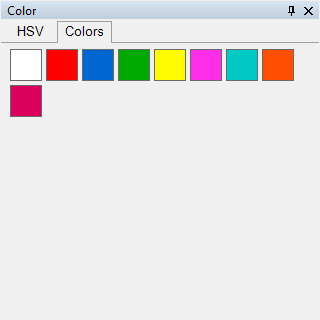
The Color control panel is used to set the color of the device's light beam. If a spotlight has at least one color wheel channel and/or three channels for red, green, and blue (RGB), the control panel for Color is activated. The HSV tab always provides the color wheel (color picker). Clicking on a specific point in the color wheel selects that color for the spotlight. For devices with RGB channels, this color is then output, or the light beam adopts the selected color. If a spotlight only has a color wheel and cannot mix colors, the color closest to the selected one on the wheel is chosen. In addition, a second tab (Colors) appears for such devices, where the colors on the color wheel can also be selected directly (see image 4). By double-clicking with the left mouse button, the color white is selected, and by double-clicking with the right mouse button, the color black is selected.
You can also define your own default colors for the Color control panel. The procedure is described in the article Standard Colors for the Color Picker.
Position
|
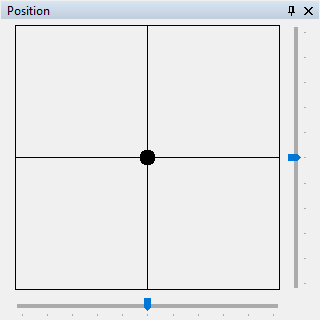
| Figure 6: Representation of the Position Panel. |
With the Position control panel, you can adjust the position property of moving spotlights, such as scanners and moving heads. Pan is located on the horizontal axis, and Tilt is located on the vertical axis. It doesn't matter if a device has only a pan and tilt channel or also panfine and tiltfine (16bit).
Gobo
|
|
|
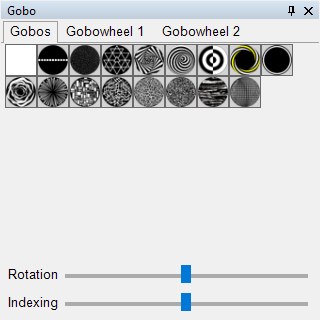
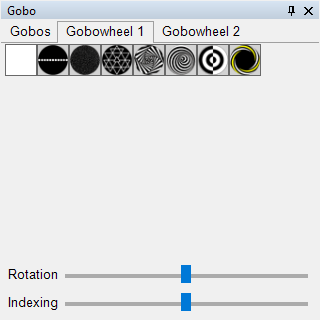
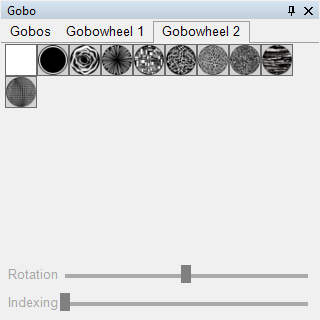
To select a different gobo for a corresponding spotlight, the Gobo control panel can be used. Here, all available gobos in a device are displayed. For device groups, the HAL comes into play, as a device group may consist of multiple spotlights with different gobos. The HAL ensures the correct gobo is selected in the background. In this control panel, you can also control the gobo rotation via the rotation slider and the gobo index via the indexing slider.
Beam
|
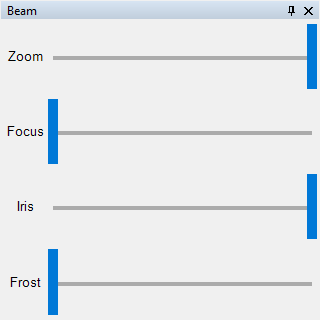
| Figure 10: Representation of the Beam Panel. |
The Beam control panel provides four sliders to adjust the focus, zoom, iris, and frost of a device. The color of the slider indicates which function can be used.
Shutter Blades
|
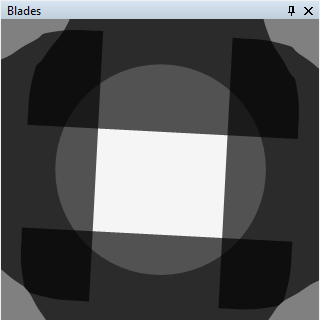
| Figure 11: Representation of the Blades Panel. |
Matrix
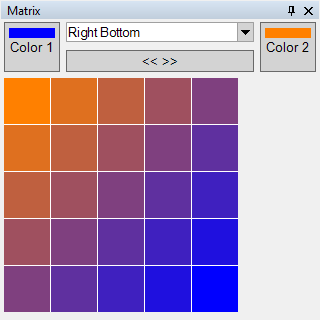
|
| Figure 12: Representation of the Matrix Panel. |
Further explanations see Matrix.
In this window, individual pixels can be colored. Either by using the presets in the dropdown or by selecting a color directly. Clicking on the corresponding pixel opens the color selection. Once a color is selected, it can be applied to other pixels by clicking on them with the left mouse button.
Radix

|
| Figure 13: Representation of the Radix Panel. |
Further explanations see Radial Matrix (Radix).
The same procedure applies here as with the Matrix window.
Links and References
Links
- ↑ Hardware Abstraction Layer: https://en.wikipedia.org/wiki/Hardware_abstraction_layer
Video Tutorials
On our YouTube-Kanal, you can find the following videos on this topic.


